Thursday, November 13, 2014

Watching The World Go By : Dry Point Printing

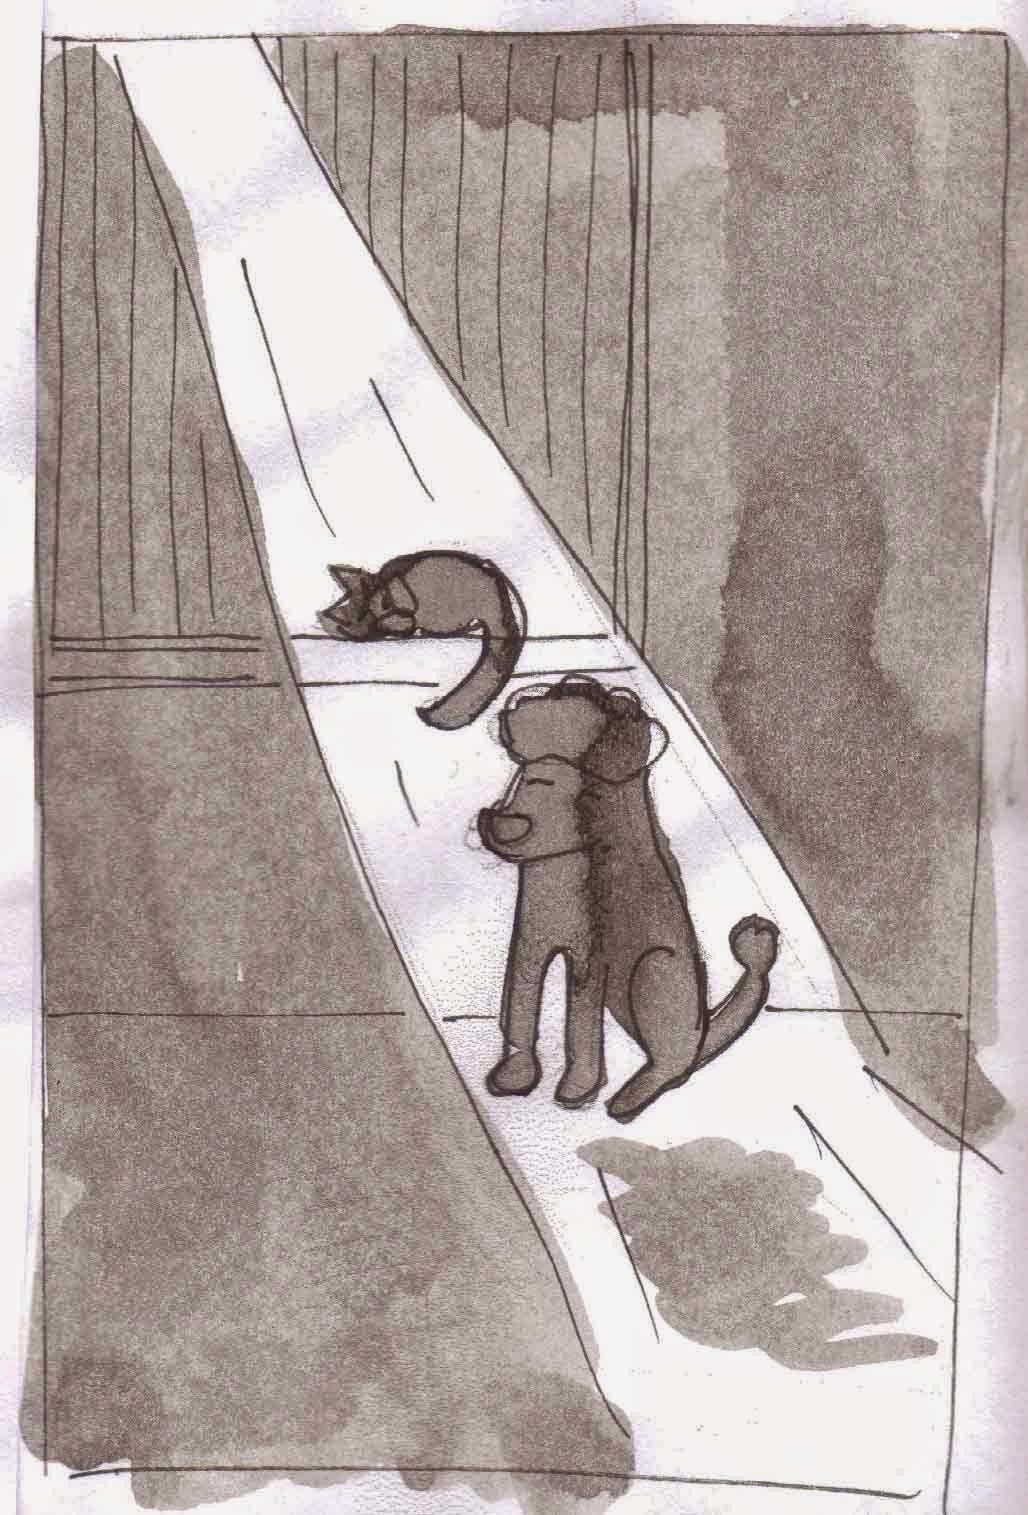
During the week I have been experiementing with "Dry Point" printing on my illustrations. I havent done any dry point in a number of years so it was good to get back into it. Shadowing and atmosphere were the aspects that i was hoping to achieve. Here is some information about the Dry Point printing process.

Development work : Composition
This image of achieved  by drawing onto a perspex plate of plastic, using a scribe tool. The harder you work onto the perspex the deeper the line and the darker the line will be once printed. Also the closer the lines are scribed together, the more ink in that area and the deeper the tone. Different line qualities are achieved by presser applied to the  scribe, line direction and various techniques. Other techniques examples could be cross hatching, dots or circles, each will have its own print quality. Remember that when you print your work, it will be the reverse image of what is scribed on the plate.


Development Work : Atmosphere / Tone

Once your plate is scribed, it is then inked up using oil based etching ink. The plate is then rubbed down using fabric known as "Scrim" and then acid free tissue. Meanwhile watercolour paper should have been soaking in preparation, this the then blotted down, to remove any excess water. The plate is then rested on the printing press bed while the paper is placed on top of it, then they are sent through the press.
 
 
TA Dah....


Close up
 
Once your image has been printed you can see if you would like to alter the piece , you can work back into the plate to achieve deeper lines, although when using perspex for this method, it has a limited printing ability. Which means that line quality and clarity will alter after it has been printed a number of times. This method of printed can also be done using a copper plate which would be more durable. This is merely the tip of the ice-berg in what can be created as various colours and interacting plates open up so many possibilites.


Wednesday, November 12, 2014

Drawing Inspiration from Disney Legend Mary Blair


 Mary Blair (October 21, 1911 – July 26, 1978), was an American artist who was prominent in producing art and animation for The Walt Disney Company, drawing concept art for such films as Alice in Wonderland, Peter Pan and Cinderella. She also created character designs for enduring attractions such as Disneylands It's a Small World and an enormous mosaic inside Disney's Contemporary Resort. Several of her illustrated children's books from the 1950s remain in print, such as I Can Fly by Ruth Krauss, She also designed many characters for advertising in the 1950's. Mary was honored as a Disney Legend in 1991.

Personally i am a huge fan of Mary's work, i look to her drawings when i am struggling with colour and shape. Looking at her development work for Peter Pan is like receiving a masterclass in colour concept and theory. I also find her character designs very helpful to study, personally i look at these for inspiration in posing and "weight." I could look at Mary's work all day.........


Tuesday, November 11, 2014

"The Elves And The Shoemaker" Character Development

Over the past two weeks i have been designing characters as part of the Picture Book course i am attending. We have to select a fairytale story and re-design a main character. The story i picked was "The Elves And The Shoemaker," i loved that story when i was growing up, the thoughts of Elves which came to help in the middle of the night was very believable to me!! I decided to re-design the main Elf character. I played around with many idea's of what she could look like and what style would be used to draw her. For inspiration i looked towards the amazing Disney artist Mary Blair, the brains behind the design of "It's A Small World" and the feature film's of "Peter Pan" and "Alice In Wonderland."

Here are some of the character development sketches I've created, (sorry the photo quality isn't that great) :